Wednesday, August 24, 2011

Blueberry Pie

Blueberry Pie!


So, I found blueberries on sale at Vons ( 2lbs for $3.99!) and I just couldn't resist!
I have had a blueberry pie recipe bookmarked for a while and this was just the opportunity I have been waiting for.


I found a relatively simple recipe on this blog:
Apparently it is Martha Stewart's recipe for blueberry pie.  At first I tried to get fancy with the top crust. I wanted to put flowers on the top like I had seen done on this blog:

But, alas my pie dough was not cooperating, so I just made a plain crust and decorated the top with some hearts.

Blueberries mixed with sugar, cornstarch, cinnamon, and lemon juice.


Pie ready to go in the oven.


Pie just out of the oven!


Brought it to work to share with my coworkers! :)


First slice came out perfectly in one whole piece! When does that ever happen?


It did stain everyone's mouth blue/purple for a while...hehe


Only one slice left at the end of the day.

Friday, August 12, 2011

Ramen with Bok Choy


Bok Choy.
Delicious, Peppery, Crunchy.


Top Ramen
Salty, Convenient, Comforting.


The two come together to create perfect harmony...
aka my lunch!

Monday, August 8, 2011

Momofuku's Crack Pie

Momofuku's Crack Pie


Recipe from the Los Angeles Times:

Also see the article in the Lost Angeles Times!

I have been obsessing about making this pie all week, ever since I found the recipe.
The ingredients are pretty basic except for milk powder, and there is dangerous amounts of sugar involved!

You start off by baking a giant cookie!


Once the cookie cools down, you crumble it in the food processor to make the pie crust.

Here is the finished Pie:


Crunchy cookie crust, gooey sugary sweet center...
Then powdered sugar is sprinkled on top.


Better have a slice now, because this pie won't last long!


Friday, August 5, 2011

Avocado Chocolate Cupcakes with Peanut Butter Frosting


I have been wanting to try this out for a while now. Chocolate and avocado.  I don't see how you could go wrong with that combination!

I procured a recipe from this blog:
http://www.notquitenigella.com/2009/09/18/chocolate-avocado-cake-with-avocado-buttercream/
I was originally going to make a cake, but I only have One 9" cake pan at the moment so, at the last minute I decided to make cupcakes instead.
  • 3 cups all-purpose flour
  • 6 Tablespoons unsweetened cocoa powder
  • 1/2 teaspoon salt
  • 2 teaspoons baking powder
  • 2 teaspoons baking soda
  • 2 cups brown sugar
  • 1/4 cup vegetable oil
  • 1/2 cup soft avocado, well mashed, about 1 medium avocado
  • 2 cups water
  • 2 Tablespoons white vinegar
  • 2 teaspoons vanilla extract
1. Preheat oven to 350 degrees F/180C.  Grease and flour two 8 or 9-inch tins.  Set aside.
2. Sift together all of the dry ingredients except the sugar.  Set that aside too.
3. Mix all the wet ingredients together in a bowl, including the super mashed avocado.
4. Add sugar into the wet mix and stir.
5. Mix the wet with the dry all at once, and beat with a whisk (by hand) until smooth.
6. Pour batter into greased cake tins. Bake for 30 to 40 minutes, until a toothpick inserted comes out clean.

So this recipe worked out fine for cupcakes.  Baked them 30 minutes and they came out perfect.  Very moist and delicious! And Vegan!

Then I messed up the whole vegan thing with my frosting.  Well, once again I veered from my original plan.  I was planning to make a vegan avocado frosting, but I didn't have a lemon, which was part of the ingredients. I didn't feel like going to the store, so I decided to look for recipes that would utilize ingredients I had on hand.  I found a peanut butter glaze that my instincts told me would go perfectly with the chocolate cupcakes:

http://www.recipegirl.com/2011/03/28/chocolate-chip-peanut-butter-pound-cake-with-peanut-butter-glaze/

1 1/2 cups sifted powdered sugar
1/4 cup milk
1/4 cup creamy peanut butter


My instincts proved correct! 

Thursday, August 4, 2011

Green Tea Mochi with Red Bean Filling


Well, if you love mochi, you will be happy to know that these were incredibly easy to make!

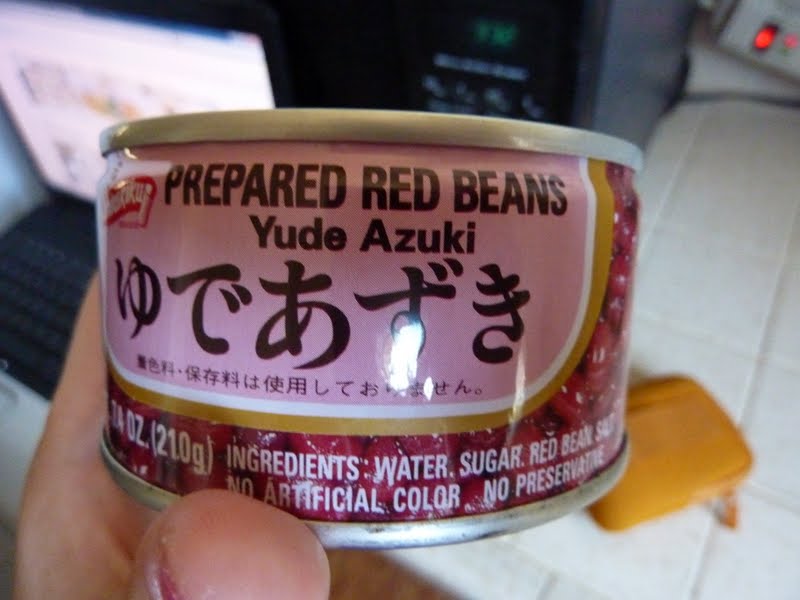
I bought some prepared and sweetened red beans at my local Japanese market, Mitsuwa.
You could also make your own red bean filling from scratch, but I went with the easy option.


I know, it sounds strange.  Beans aren't something we normally associate with sweets, but it is well worth trying!  I fell in love with Japanese food a few years back when I had the luck to travel to Japan one summer with other art students from SDSU.  (Note to self: future  blog post with food pictures and stories from my trip...).  Anyways, whenever I taste the sweet adzuki bean flavor it takes me back to Japan..


Ingredients
1 cup of Mochiko glutinous rice flour
2 tbsp of sugar
1 tsp of green tea powder
2/3 cup of water
Red bean paste
Cornstarch/potato starch/or tapioca starch – for dusting

Directions
1. Take red bean paste and roll it into balls approximately 1/2 inch in diameter. (If you like a lot of bean paste in yours, you can make thicker balls.  I personally only like a little bit of filling, so I made my balls smaller.  Make about 8 balls.
2. In a microwave safe bowl, mix together mochiko glutinous rice flour, sugar, green tea and water. Mix well.
3.
Microwave the mixture on high for two minutes. Remove and stir quickly.
Return to the microwave and cook for another 1 1/2 minutes. I had to play around with the timing of this for a while.  The first time I overcooked the mochi and it was too hard. 
4. Scoop up a little more than one tablespoon of dough. Dust a plate or counter top with either cornstarch, tapioca starch or potato starch.
5. Dust your fingers and palms with starch and flatten a piece of dough while it is still hot and put in the filling, then wrap dough around the filling and seal the
opening with a tight pinch. Try to shape dough into a smooth round ball. Repeat until all dough is used up. Let the mochi cool before serving.

Here is a picture of the ingredients mixed together pre-microwaving:


Soooo I did run into a few problems with this recipe!  Well, first off, my red bean filling was a bit too soupy to roll into balls, so I ended up just using a teaspoon to just scoop it on top of the mochi.
Next problem was the microwaving times!  I followed the directions and microwaved on high for two minutes.  When I took it out of the microwaved it had hardened considerably and I wasn't able to "stir it quickly" because it was too hard!!  Luckily I was still able to mold it a bit at this point!  I just scooped some out, placed some red bean filling on top and folded the mochi over as best I could.  And Yikes! It was hot! So do use caution when handling.


Anyways, they ended up looking and tasting fine!
I guess the moral of the story might be that all microwaves are different and cooking times may vary!


Bitter melon pretty to look at, but hard to swallow

I love trying strange fruits and vegetables so I decided to pick this up on a recent run to Mitsuwa (http://www.mitsuwa.com/english/) my all time favorite Japanese market!

Behold the Bitter Melon!....


Bitter melon!  I went with the slightly less bumpy variety.  There are some that look more like this:


This is what it looks like inside (Please disregard my camera strap hanging down into the shot).


Well, I looked at various recipes and different ways to cook the bitter melon and I decided to go with a simple egg scramble, which is one of the more common ways of consuming the fruit.


One recipe suggested cooking the bitter melon slices in some salted water first to help subdue the bitter flavor.  (For me this did not work!)


I scrambled the bitter melon in with some eggs, added some soy sauce and then sat down to breakfast.
A breakfast I wouldn't soon forget!


I felt a little terrible about it, but I could not eat this!
I should have seen it coming, but it was just too...well..Bitter!
It tasted like earwax!
So, with great sadness, me and the bitter melon parted and went our separate ways.

Peach Galette

I have been loving the fruits of summer, and I have an obsessive desire to make pies and tarts and jams using every possible fruit and berry!

This is a peach ginger tart that I improvised based on my recent strawberry apple galette http://lauramanthei.blogspot.com/2011/07/strawberry-apple-galette.html

Basically I peeled and sliced four peaches, mixed them with approximately 3 Tbsp sugar and 1 heaping Tbsp corn starch, the juice of one lemon, and 1/2 Tbps grated gingeroot.

For the crust I followed the original recipe, but added lemon zest instead of orange zest.
This crust recipe is amazing!

  • 1 1/2 all purpose flour
  • 2 Tbsp granulated sugar
  • 1/4 tsp salt
  • 4 oz (8 Tbsp) chilled unsalted butter
  • 1-2 Tbsp orange zest
  • 3 Tbsp cold milk
  • 1 egg white to brush the Galette

So you start by cutting the butter into chunks.  Then mix together flour, sugar and salt.  Add in butter and mix with your fingers until it resembles a course meal.  Then add orange zest and ice cold milk and blend with a fork until it clumps together. Do not knead the dough!!! Gather the clumps and press together into a ball.  Flatten into a disk, wrap in plastic wrap, and put in the fridge to chill for 1 hour.

Then you roll out the dough into a circle on some parchment paper, put fruit filling in the center and fold up the edges.  Brush with one egg white and then sprinkle the whole thing with some brown sugar.


Bake for 40 minutes at 400 degrees.
Here is the finished product:


Delicious! The filling tasted like peach pie.  I impressed myself with this one ;)